Tools & integrationsGuide
Add a pixel-art effect to your game with the pixelfx skill
Install the pixelfx skill in Claude Code, ask for a frost nova, and see what that session costs on a cheap model with a live cost table.
On this page
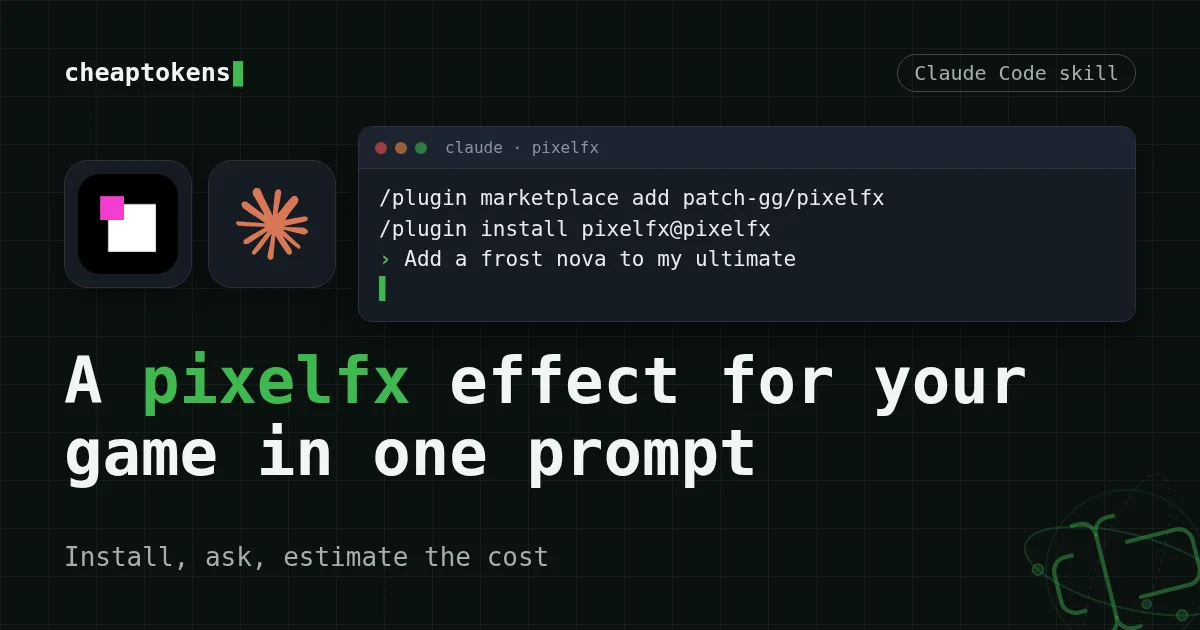
You want a frost nova for your browser game, and you'd rather not draw forty frames by hand. The pixelfx skill lets Claude Code do it: install it with two commands, describe the effect in one sentence, and the agent writes the code. What that session costs on a cheap model depends on how many steps it takes, so the table below counts it on live prices for a stated assumption.
What pixelfx is#
pixelfx is a library of 244 pixel-art effects. According to its README (github.com/patch-gg/pixelfx, read on 4 November 2026), each effect is a small piece of code in src/, and the categories run from fire, explosions, water and ice to lightning, melee, holy, shadow, status, weather, UI and critters. Sixty-one effects use a character, and there are 12 full moves that chain several effects together.
Two ways to use it, depending on your engine:
- Browser game: use the JavaScript code directly. No dependencies.
- Godot or another engine: export the effects you want as PNG sprite sheets with Aseprite-style JSON.
The repo also contains a separate Claude Code skill that creates new effects. That skill is what this guide is about. If you've never opened a skill file, what an agent skill is and how to vet one takes five minutes and is worth reading before you install anything from a repo.
Install the skill#
You need Claude Code already pointed at CheapTokens. If it isn't, do that first: how to connect Claude Code to CheapTokens has the address and variables. For game code with long files, a good fit is DeepSeek-V4-Flash (deepseek-): up to 32,768 tokens per answer, a 380K context window, and one price at any hour. The details are on the DeepSeek models page.
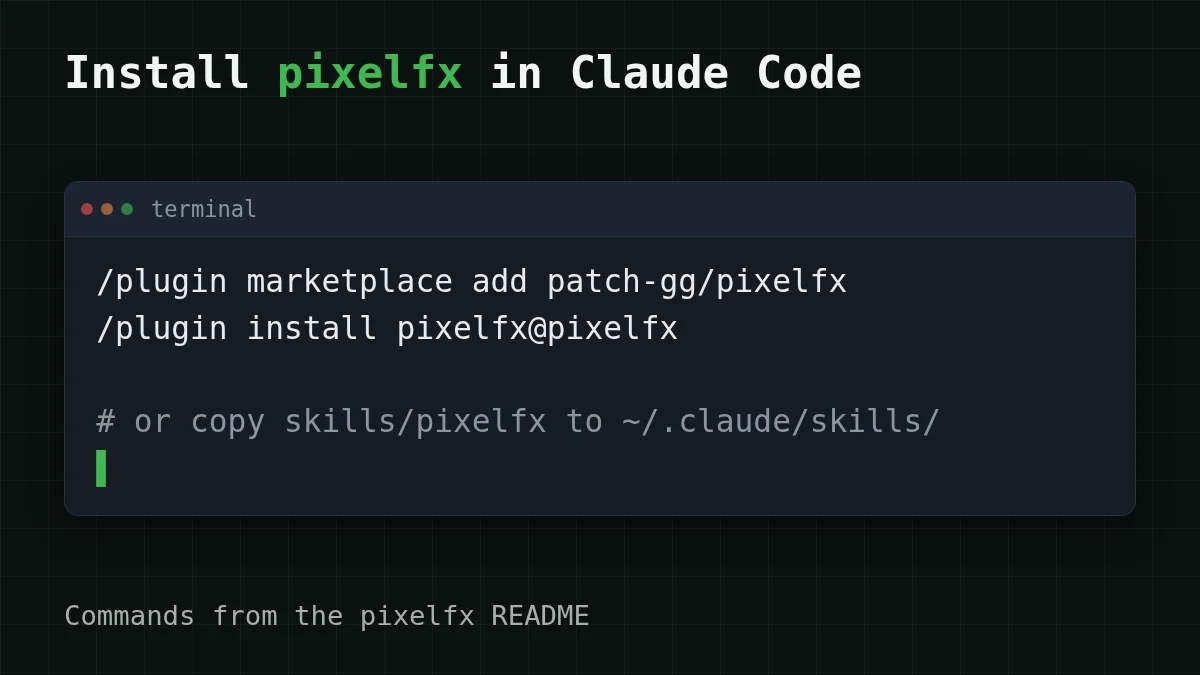
The README gives two ways to install. The plugin route is two commands inside Claude Code:
/plugin marketplace add patch-gg/pixelfx
/plugin install pixelfx@pixelfx
The manual route is to copy the skills/pixelfx folder from the repo into ~/.
Put in order
Put the setup in the right order
Drag the items or use the arrows
- Connect Claude Code to your CheapTokens key
- Add the pixelfx marketplace with /plugin marketplace add
- Install the skill with /plugin install
- Ask for an effect in plain language
Ask for one effect#
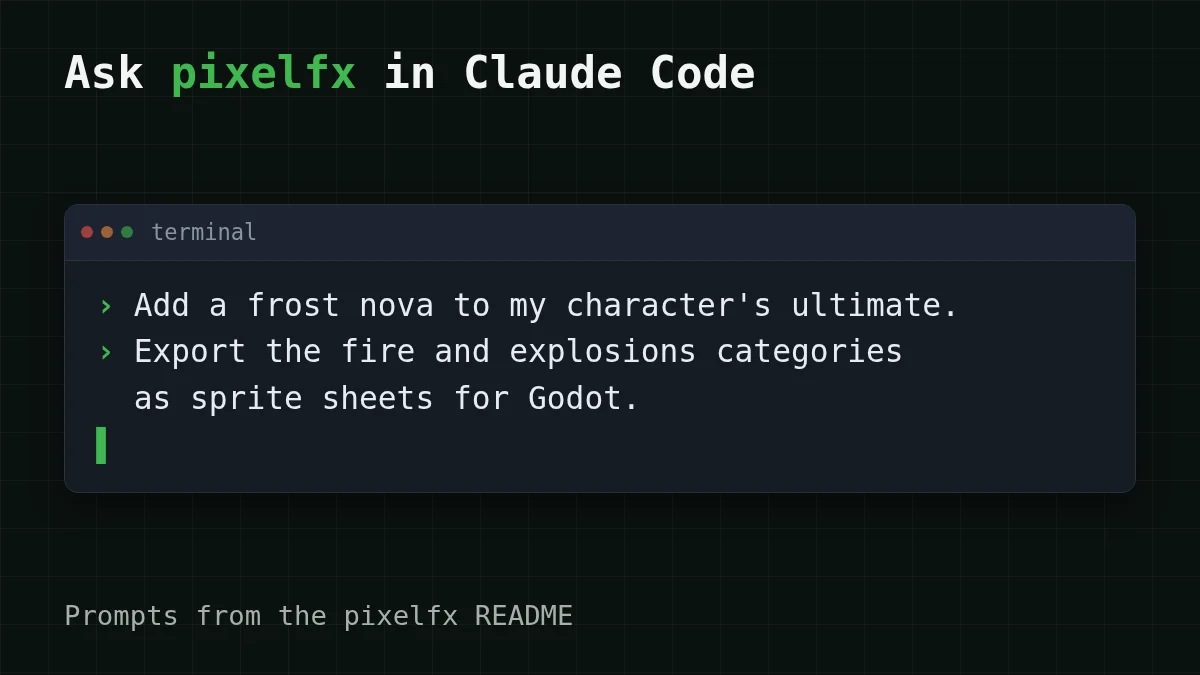
The skill is driven by ordinary requests: add, export, tweak or create an effect. The README's own examples are the best starting point. Open your game folder, start claude, and type something like:
Add a frost nova to my character's ultimate.That's the whole prompt. The skill is built for requests like this: it teaches Claude Code to find, use, export and make effects, and when it makes a new one it works as a draft, render, look, refine loop (per the README). Expect several steps rather than one reply, as in any agent session: reading files, then editing.
If you use Godot, ask for the other thing the README describes:
Export the fire and explosions categories as sprite sheets for Godot.You get a PNG with the frames in a grid plus Aseprite-style JSON; per the README, the Aseprite importers for Godot and Unity read it.
One catch worth knowing before you start. Effects drawn on the body are written for the stock 24x38 dummy, so a character with a different size needs those effects regenerated.
Try it yourselfTry it: your hero is 32x48 pixels. Will a body effect line up?Show answer
Not out of the box. Body effects are drawn for the 24x38 dummy, so ask Claude Code to regenerate that effect for your character's size.
What a session costs#
Here's the part that surprises people. The effect itself is a small file. The cost comes from the agent working: at every step Claude Code resends the project files it has read, the skill text and the conversation so far.
Quick check
Which side of a Claude Code session usually holds most of the tokens?
Show answer
Answer: The input resent at every step
Each step carries the whole working context, so input adds up fast, while each answer is much shorter (in the example below, 1,500 tokens against 30,000).
Here is an assumption you can change for your own project: say the session takes 20 steps, each step sends about 30,000 tokens of input (files, skill text and history) and the model writes about 1,500 tokens. On DeepSeek-V4-Flash, one such step costs $0.0006, and the whole 20-step session is in the table. It also shows OpenRouter next to our price for every model, counted in total with input and output together.
| Model | Input $/1M | Output $/1M | Per request | 20 requests | OpenRouter, 20 requests |
|---|---|---|---|---|---|
| GLM-5.3-Flash | $0.02 | $0.04 | $0.00066 | $0.0132 | $0.0226 |
| DeepSeek-V4-Flash | $0.015 | $0.10 | $0.0006 | $0.012 | $0.0462 |
| MiniMax-M2.7 | $0.05 | $0.15 | $0.0017 | $0.0345 | $0.414 |
30,000 input and 1,500 output tokens per request. Prices per 1M tokens are current and change together with our tariffs; the OpenRouter column shows reference prices for the same workload.
Prices per 1M tokens right now: input $0.015, output $0.10. For small tweaks to an effect that already exists, GLM-5.3-Flash has a 390K context and up to 8,192 tokens per answer, which is plenty for adjusting colours or timing.
To see how a longer day with an agent adds up, how to make Claude Code cheaper goes through the habits that cut input.
Before you ship it#
The code and effects are MIT-licensed. The Patch Pixel font in gallery/fonts is not covered by MIT (see NOTICE.md in the repo), and some effects adapt MIT code by Hugo Duprez and Hollow Crown. If your game ships the font, read NOTICE.md first.
To get started with your own key and model list, see the CheapTokens docs and the live pricing page.


