Getting startedGuide
First API request in VS Code: a .http file, key from .env
Send your first chat completion to CheapTokens from VS Code with the REST Client extension, keep the key out of git, and find the answer and token usage.
On this page
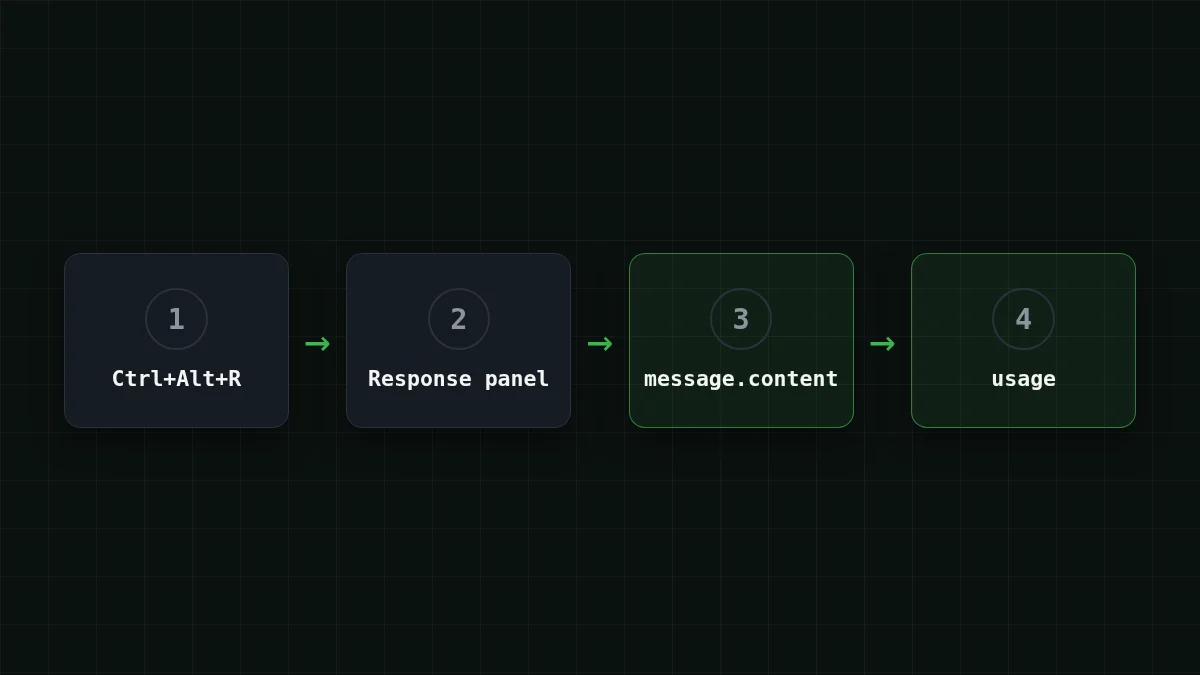
You can send your first request to CheapTokens without leaving VS Code: install the REST Client extension, write a .http file, keep the key in a .env next to it and press Ctrl+Alt+R. The answer opens in a panel beside the file, and the text and the token count are two fields you can find at a glance.
If you already have an editor open, that beats installing another app just to say "Hello" to a model. And the request stays in a plain text file, so you can re-run it tomorrow or commit it (without the key) for a teammate. Other ways to send the same request are in First request with HTTPie and Your first API request with CheapTokens.
Install the extension and get the key into .env#
REST Client is the extension humao.. In VS Code press F1, type ext install, search for rest-client and install it. (Checked against the extension's README on 9 November 2026.)
Now the key. The README describes {{$dotenv NAME}}: it reads a value from a .env file that sits in the same directory as your .http file. That is exactly what we want, because the key never appears in the request file. Make a folder for the experiment and put two files in it.
.env:
CHEAPTOKENS_API_KEY=paste-your-key-here.gitignore:
.envCreate the key in your CheapTokens account and paste it instead of the placeholder. Why the ignore line matters, and what to do if a key ever lands in a commit, is in Store an API key safely.
Put in order
Put the setup in the right order
Drag the items or use the arrows
- Install the REST Client extension
- Add .env to .gitignore
- Put the key in .env next to the .http file
- Press Ctrl+Alt+R on the request
Write the .http file#
Create first.http in the same folder. The syntax is short: a request line (POST URL HTTP/, the method is optional and defaults to GET), header lines Name: value up to the first empty line, then the body after a blank line. Requests are separated by a line of three or more #.
### First request
POST https://api.cheaptokens.dev/v1/chat/completions
Authorization: Bearer {{$dotenv CHEAPTOKENS_API_KEY}}
Content-Type: application/json

{
  "model": "zai-org/GLM-5.3-Flash",
  "messages": [{ "role": "user", "content": "Hello" }]
}
Three things to notice. The address is the CheapTokens API base, https:/, plus /. The model is written with its full id, zai-: a 390K-context model that can write up to 8,192 tokens per answer. And the key is only a {{$dotenv …}} placeholder, so this file is safe to commit.
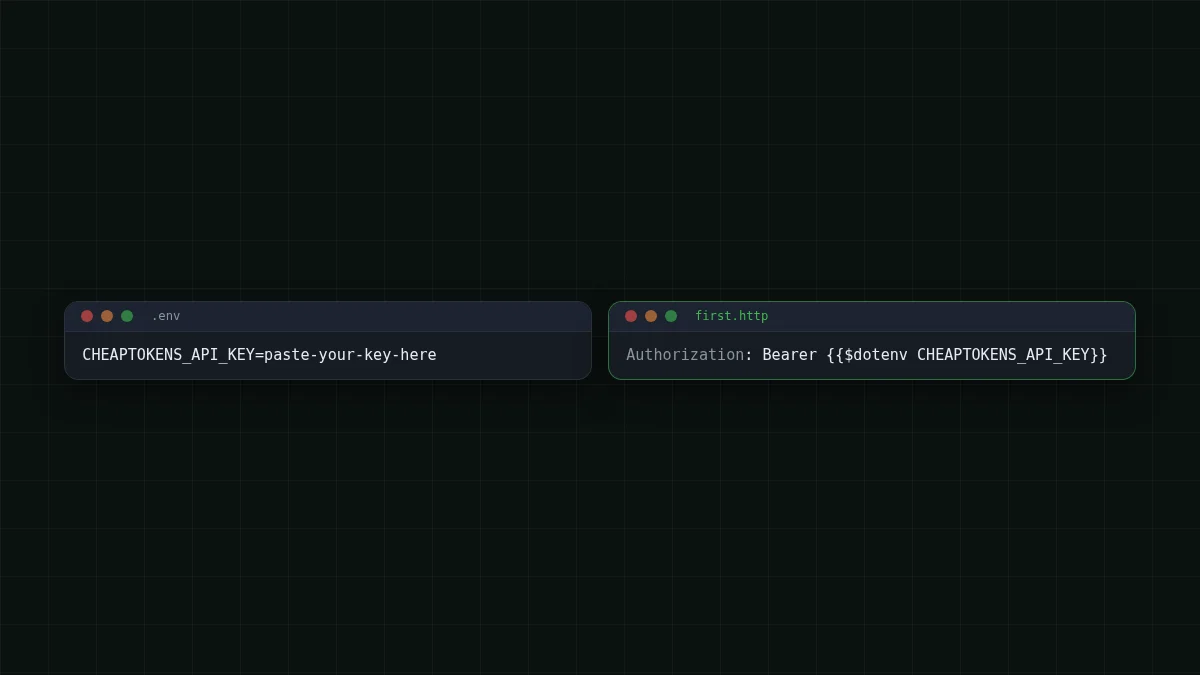
If your setup does not pick up the .env file, the README also describes {{$processEnv NAME}}, which reads a variable from your machine's environment instead.
Send it and find the answer#
Click "Send Request" above the request line, or press Ctrl+Alt+R (Cmd+Alt+R on macOS). You can also right-click or use F1. The response opens in a separate panel. If you prefer a normal editor tab you can search and fold, set rest- to true in settings.
The response is the standard chat-completions JSON. Two places matter on day one:
choices[0].is the answer text. Next to it,message. content finish_reasontells you why the model stopped.lengthmeans the answer was cut by the token limit.usageholds the token counts for this request: tokens you sent and tokens the model wrote. This is what you pay for, so look at it every time.
Try it yourselfTry it: how do you see that an answer was cut off?Show answer
Look at finish_reason in the response. If it says length, the model hit the token limit before it finished. Add a "max_tokens" line to the body, or raise it, and send again.
To get a feeling for money: say you send this request 100 times with about 1,000 tokens in and 300 out (an assumption for the example, not a measurement).
| Model | Input $/1M | Output $/1M | Per request | 100 requests | OpenRouter, 100 requests |
|---|---|---|---|---|---|
| GLM-5.3-Flash | $0.02 | $0.04 | $0.000032 | $0.0032 | $0.0058 |
| DeepSeek-V4-Flash | $0.015 | $0.10 | $0.000045 | $0.0045 | $0.0112 |
| MiniMax-M2.7 | $0.05 | $0.15 | $0.000095 | $0.0095 | $0.114 |
1,000 input and 300 output tokens per request. Prices per 1M tokens are current and change together with our tariffs; the OpenRouter column shows reference prices for the same workload.
The table shows the live price of that workload on each model, with an OpenRouter column to compare. A tiny "Hello" costs far less.
Swap the model in one line#
The handy part of a plain text file: change one line and send again. Replace the model id with deepseek- (380K context, up to 32,768 tokens per answer, one price at any time of day, in total cheaper than OpenRouter with input and output counted together) and press Ctrl+Alt+R once more. Same body, same key, a different answer, and a different usage.
Want to keep both? Paste a second request below a ### line with the other model id. Each request gets its own Send Request link, so you can run them one after another and compare. Not sure of an id? List models with GET /v1/models shows the exact strings.
If it does not work#
Match the pairs
Match the symptom to the cause
Tap an item on the left, then its pair
- 401 UnauthorizedThe key is empty or wrong, often because .env is not in the same folder as the .http file
- 404 Not FoundA typo in the URL path or in the model id
- Answer stops mid-sentence, finish_reason is lengthThe token limit was reached, raise max_tokens
For the first two, API 401 or 404: wrong key, base URL or model id walks through the checks. Full request details are in the CheapTokens docs, and current prices are on the pricing page.
That is the whole workflow: one file, one key in .env, one shortcut. From here you can add a system message, change max_tokens, or turn the same body into code in any language.


