Getting startedGuide
First request to CheapTokens in Hoppscotch: key in an environment
Send your first chat completion from the Hoppscotch web client: base URL and key in an environment, a JSON body, and where to read the reply and usage.
On this page
You can make your first CheapTokens request in Hoppscotch without installing anything or writing code: open the web app, put the base URL and your key into an environment, build one POST / request, press Send. The answer and the token counts show up in the response panel.
The only thing worth doing carefully is the key. If you paste it straight into the request, it ends up in every screenshot and every shared link. An environment variable keeps it in one place.
This guide follows the official Hoppscotch docs (checked 9 November 2026; the pages carry no version or date). The API side is the CheapTokens base URL https:/, which speaks the OpenAI Chat Completions format. More on both in the CheapTokens docs.
Put the base URL and the key into an environment#
Hoppscotch has an Environments icon in the sidebar. Click it, create a new environment, name it cheaptokens, and add two variables:
Scroll the table right →
| Variable | Type | Value |
|---|---|---|
baseURL |
Regular | https:/ |
api_key |
Secret | your CheapTokens key |
Why two types? Per the Hoppscotch docs, a Regular variable is visible to everyone who can see the environment, while a Secret one is masked, never synced or shared, and left out of exports and duplicates. A key belongs in the second kind: enter it as the variable's value. Then select the cheaptokens environment so the request can see it.
In requests, a variable is written as <<name>>: <<baseURL>> and <<api_key>>. That's the whole trick.
Build the request#
REST is the active mode when you open Hoppscotch. Three things to set.
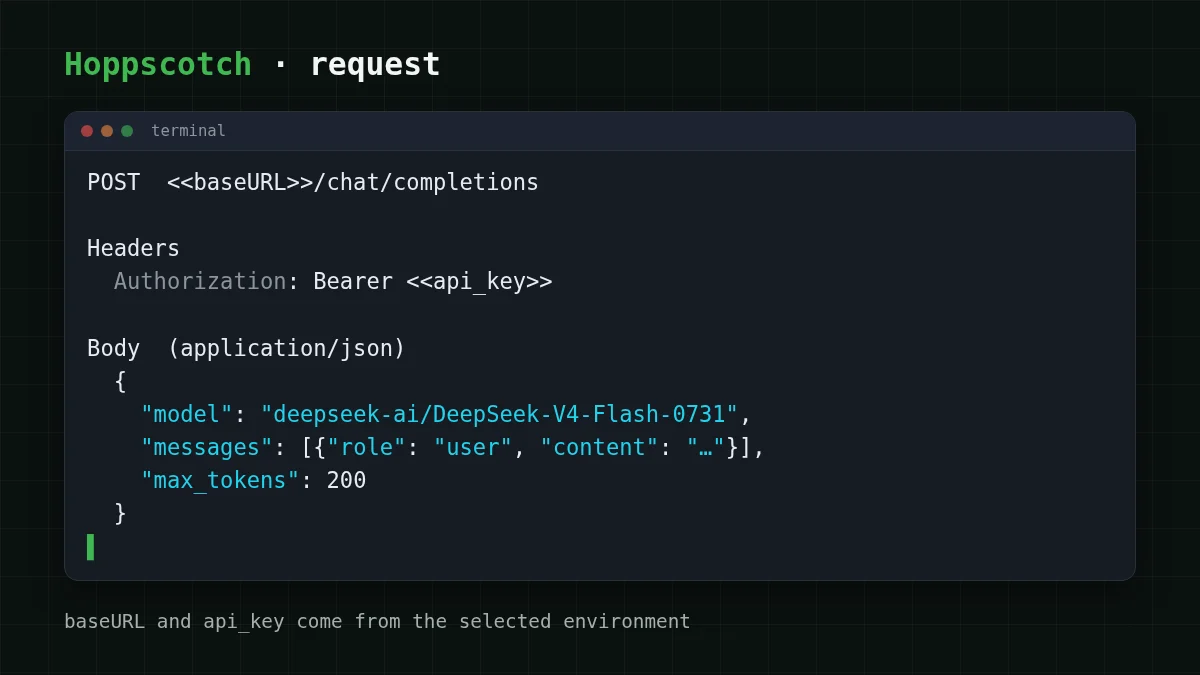
Method and URL. Choose POST in the dropdown and enter:
<<baseURL>>/chat/completionsThe key. Hoppscotch's Authorization tab has a Bearer type and adds the token to the request as Bearer <token>. The docs don't say whether <<api_key>> works inside that token field, so use the sure route: open the Headers tab and add one header.
Authorization: Bearer <<api_key>>You replace the variable by hand nowhere, and the real key never appears in the request you see on screen.
The body. Open the Body tab, choose application/json in the Content Type dropdown (the docs list it as the type for content in JSON format), and paste:
{
  "model": "deepseek-ai/DeepSeek-V4-Flash-0731",
  "messages": [
    {"role": "user", "content": "Explain what a token is in one sentence."}
  ],
  "max_tokens": 200
}
Use the full id deepseek-. The short name from a price list won't be accepted by the API. DeepSeek-V4-Flash has a 380K context and up to 32,768 output tokens per answer, so 200 is a deliberately small cap for a test. Want a different model? Change that one field to zai- (390K context, up to 8,192 output tokens) and send again.
Checklist
Before you press Send
Press Send and read the reply#
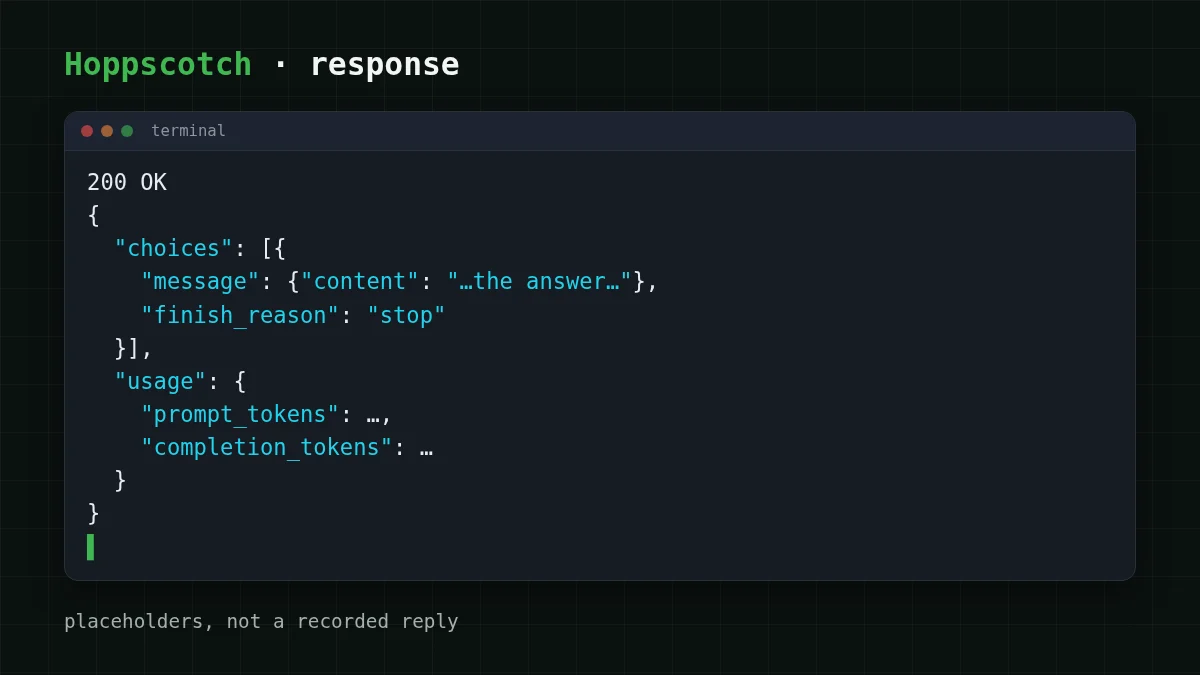
Click Send. The response section shows the status code, body, headers, cookies and timing. You want 200 and a JSON body shaped like the OpenAI chat completion format. Two places matter:
choices[0].is the model's answer.message. content usagehasprompt_tokens(what you sent) andcompletion_(what the model wrote). That's what you're billed for, so this is where you check a request cost what you expected.tokens
Also look at choices[0].. stop means the model finished on its own. length means your max_tokens cut the answer off. If you see that on a one-sentence question, the cap is too low. There's a longer explanation in AI answer cut off? Fix finish_reason "length".
Save the request into a collection and it's reusable: change the message, press Send again.
What a test request costs#
Take a short question and a short answer: say 30 tokens in and 150 out. One such request costs $0.000015, and the live table below counts 100 of them with input and output together, next to OpenRouter.
| Model | Input $/1M | Output $/1M | Per request | 100 requests | OpenRouter, 100 requests |
|---|---|---|---|---|---|
| GLM-5.3-Flash | $0.02 | $0.04 | $0.0000066 | $0.00066 | $0.0013 |
| DeepSeek-V4-Flash | $0.015 | $0.10 | $0.000015 | $0.0015 | $0.0023 |
| MiniMax-M2.7 | $0.05 | $0.15 | $0.000024 | $0.0024 | $0.0288 |
30 input and 150 output tokens per request. Prices per 1M tokens are current and change together with our tariffs; the OpenRouter column shows reference prices for the same workload.
In total, with input and output counted together, that's cheaper than OpenRouter for the same model. Your own numbers will differ, so drag the sliders on your own case:
Cost calculator
A hundred test requests like the one above
Input tokens per request: 30 · Output tokens per request: 150 · Requests per day: 100
| Model | Per day | Per month |
|---|---|---|
| GLM-5.3-Flash$0.02$0.04 | $0.00066 | $0.0198 |
| DeepSeek-V4-Flash$0.015$0.10 | $0.0015 | $0.0464 |
| MiniMax-M2.7$0.05$0.15 | $0.0024 | $0.072 |
Prices are fixed per model, with no peak-hour pricing, and one balance covers all models. The current rates are on the pricing page.
If it doesn't work#
Most first-request failures in a REST client come from three fields. Match the symptom to the cause:
Match the pairs
Match each symptom to its cause
Tap an item on the left, then its pair
- 401 UnauthorizedThe key is missing or wrong, or the
Authorizationheader isn't being sent - 404 Not FoundThe URL path or the model id is wrong
- finish_reason is "length"The
max_tokenscap cut the answer off
For the first two there's a full walk-through in API 401 or 404 error: wrong key, base URL or model id. If you're not sure which id to use, list models with GET /v1/models.
Where to go next#
The same request works in other clients: see the Postman version or the VS Code .http file. If you'd rather keep keys out of files and shells entirely, store an API key safely covers the basics. Model ids and the OpenAI-compatible endpoint are described in the docs.


