Getting startedGuide
First request to an OpenAI-compatible API in Postman
Send a chat/completions request from Postman with a Bearer key kept in a variable, and read the answer and the usage field.
On this page
You have an API key and you want to see what actually goes over the wire before you write a line of code. Postman is good for exactly that: you fill in a URL, a key and a JSON body, press Send, and the answer appears right below. For CheapTokens the request is POST https:/ with an Authorization: Bearer key and a JSON body that names the model.
The steps below follow Postman's own docs (v12, the latest version on the docs site, checked 31 October 2026). If you prefer a terminal, the same request is in Your first API request with CheapTokens.
Set it up in four moves#
You only need a few things: the base URL, your key, a model id and one message. Postman keeps the first two in variables, so the key is never pasted into the request itself.
Put in order
Put the Postman setup in order
Drag the items or use the arrows
- Define the variables base_url and api_key
- Create an HTTP request: POST to {{base_url}}/chat/completions
- On the Authorization tab choose Bearer Token and enter {{api_key}}
- On the Body tab choose raw > JSON, paste the body, press Send
A few details for each move.
Create the request. Click the Add icon in the left sidebar and choose HTTP. The method dropdown defaults to GET, so switch it to POST and enter the URL. Postman variables are written {{variable_; the docs use {{base_url}} as the example. Define base_url as https:/ and the URL field becomes {{base_. Postman stores variables as strings, which is fine here.
Add the key. Open the Authorization tab, pick Bearer Token in the Auth Type dropdown and put {{api_key}} in the Token field. Postman sends it as the Authorization header in Bearer format. The docs recommend exactly this: keep the token in a variable and refer to it by name. Why that habit matters is in Store an API key safely.
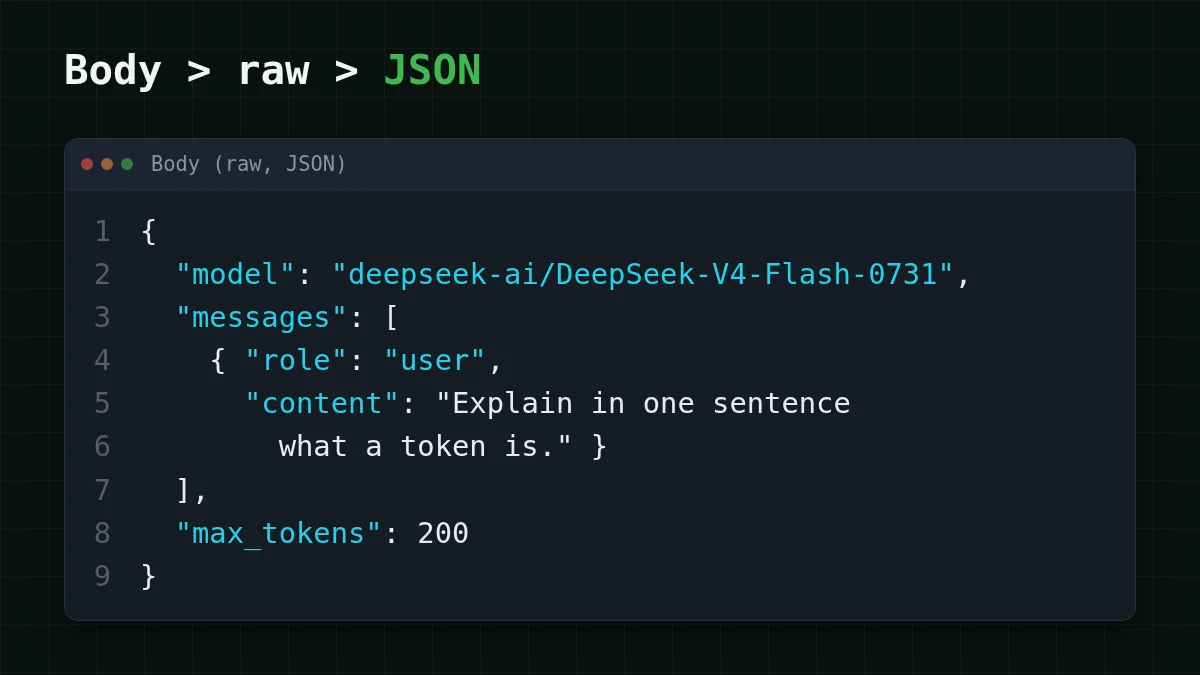
Write the body. On the Body tab choose raw, then JSON in the dropdown. For raw bodies Postman sets the matching Content-Type itself, so you don't add that header. Paste this:
{
  "model": "deepseek-ai/DeepSeek-V4-Flash-0731",
  "messages": [
    { "role": "user", "content": "Explain in one sentence what a token is." }
  ],
  "max_tokens": 200
}
The model id is the full gateway_id from the CheapTokens docs; a short name like deepseek-flash is not accepted. max_tokens caps the length of the answer, so a first test can't run long. One more Postman detail: // and /* */ comments in a JSON body are stripped before sending, so you can annotate the body for a teammate.
Press Send and read the response#
If everything is right, the response pane shows a JSON object in the OpenAI Chat Completions format. Two places matter:
choices[0].is the answer text.message. content usageholdsprompt_tokens(what you sent) andcompletion_(what the model wrote). This is what you are billed for, so look at it on the very first request.tokens
Also check choices[0].. stop means the model finished on its own; length means the answer hit max_tokens and was cut. If you see that, raise the limit or read AI answer cut off? Fix finish_reason "length".
Try it before you open the answer:
Try it yourselfTry it: you set max_tokens to 5 and press Send. What do you expect in finish_reason?Show answer
You get length: five tokens is not enough for a full sentence, so the answer is cut. Put 200 back and it becomes stop.
What the first request costs#
Say the request above uses about 30 input tokens and the answer takes about 100 output tokens (an example, not a measurement; your usage field shows the real numbers). On DeepSeek-V4-Flash that is $0.00001 at the current price, and the price is the same at any hour. Prices per 1M tokens are in the live table on the pricing page.
The same Postman request can try another model. Replace only the model line, for example with zai- (390K context, up to 8,192 output tokens), and press Send again. One balance covers all models, so nothing else changes: same URL, same key.
If it doesn't work#
Postman shows the status code next to the response. These are the usual suspects:
Match the pairs
Match the symptom to its cause
Tap an item on the left, then its pair
- 401 UnauthorizedThe key is missing, mistyped, or {{api_key}} is empty because the variable isn't defined
- 404 Not FoundThe URL is wrong: check that base_url ends with /v1 and the path is /chat/completions
- An error that mentions the modelThe model id is shortened; use the full id such as deepseek-ai/DeepSeek-V4-Flash-0731
Two Postman-specific things are worth checking. If you get 401 or the URL looks wrong, check that base_url and api_key are defined in the environment you have selected. And if the key looks right but you still get 401, open the Authorization tab again: the Auth Type must be Bearer Token, not No Auth. More about these codes: API 401 or 404 error. Not sure which id to use? List models with GET /v1/models returns them all.
When you're happy with it, press Save, give the request a name and pick a collection. Next time you only edit the content field, or the model line to compare answers. The full API reference is in the CheapTokens docs.


